
PhotoLesa's photography gear provided by:


Being the fragile, carbon-based bags of water that we are, most of us have felt like we were going to to pieces at one time or another. Although, have you ever tried to break a photo into pieces? I'm speaking digitally of course. Turns out, both Photoshop and Elements have a brush that can do just that.
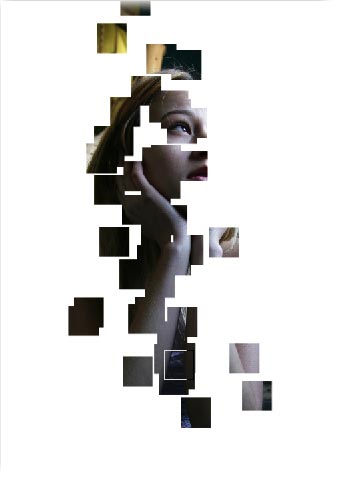
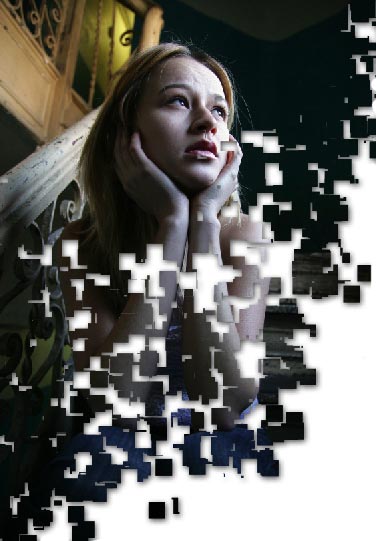
But why would you want to do this, you might ask? Well, visually it's an interesting effect, though more importantly, it's great for conceptual use as you'll soon see. I'm going to use a photo of teenage girl, sitting on some rather lonely steps. After applying the effect, I could easily use it to convey the message of falling apart, feeling broken, or one's life going to pieces, etc. Graphic designers love this kind of thing!
Before we get started, I have to give a big shout out to the folks at the Elements Village forum for pointing me to the most excellent video by colleague Corey Barker on the Planet Photoshop site detailing this effect. Thanks for the idea Corey! I'll buy you a drink when I see you at Photoshop World in a few weeks ;)
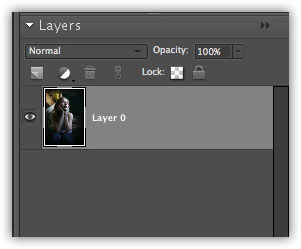
Step 1: Pop open an image and double click the background layer to make it editable.
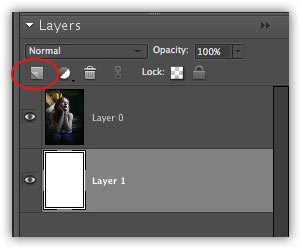
Step 2: Command-click (PC: Ctrl-click) the new layer icon to create a new layer below the one currently selected.
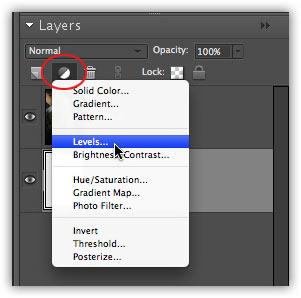
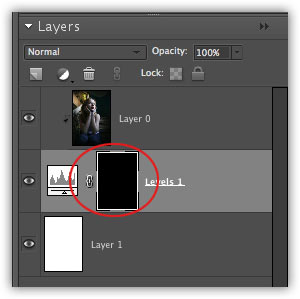
Step 3: In order for us to hide bits of our photo that we'll eventually paint black in, we need to create a layer mask. To do so, click the half black/half white circle at the top of the layers palette and choose Levels from the resulting pop-up list.
Step 4: To attach the photo to the mask which tags along with every adjustment layer (really the only reason we created it), select the photo layer and while holding the Option key (PC: Alt) mouse over the dividing line between the two layers. When your cursor turns into two intersecting circles, click once.
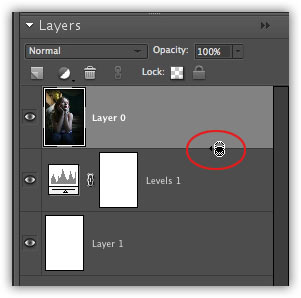
You'll notice that the photo layer moved slightly to the right, and now has a downward pointing arrow. This lets you know that the two layers are now grouped together.
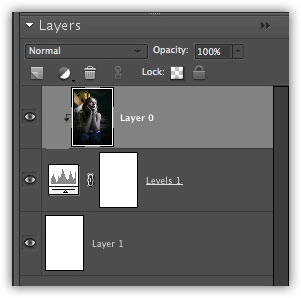
Step 5: Click once on the layer mask of the adjustment layer; it'll have a little tiny hairline border around it, as shown below.

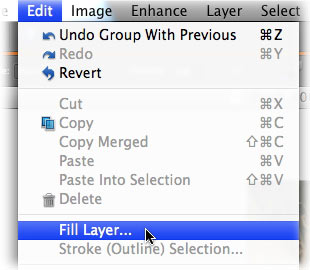
Step 6: Choose Edit > Fill Layer.
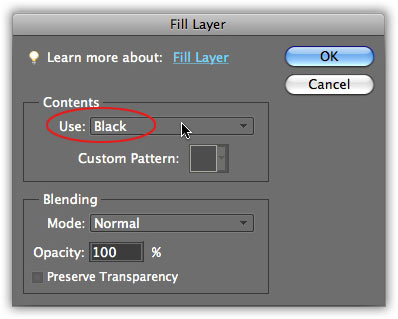
Step 7: Choose Black from the Use pop-up menu and press OK.
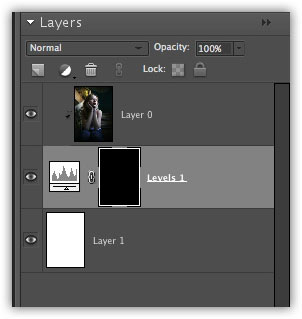
This is what your layers palette should look like now. The layer mask should be completely filled with black which will *hide* the photo from view. Don't freak out, we're going to paint the photo back in a moment.
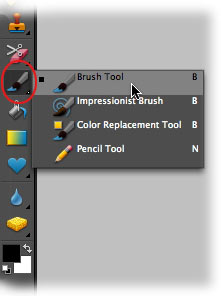
Step 8: Press B to grab the Brush Tool from the main Tools palette.
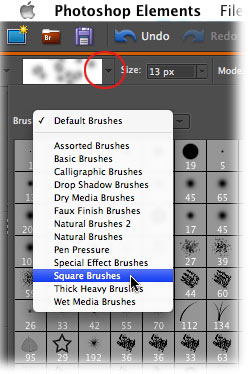
Step 9: In the Options bar, click the tiny downward pointing triangle to bring up the brush palette, then from the resulting pop-up menu, choose Square Brushes.
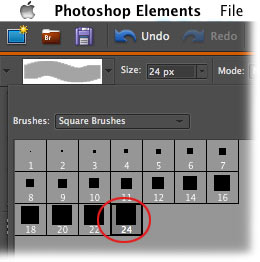
Step 10: Click once on the last Square brush you see in the list.
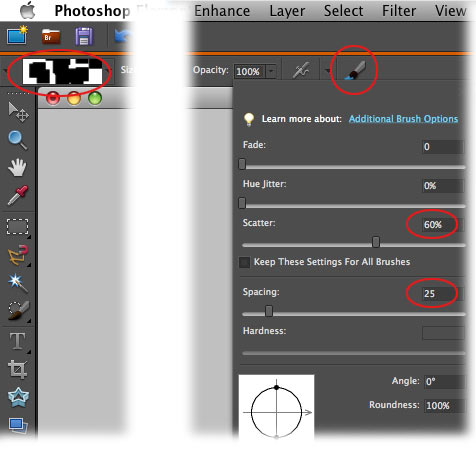
Step 11: Next, click the little brush icon towards the right in the Options bar to bring up the Brush generator. Enter 60% for Scatter and 25 for Spacing then press Return.
Step 12: Over in the Tools palette and press D to set the color chips to the default of black and white, then press X until white hops on top.
Step 13: Make sure you have the layer mask selected, so click once on it again just for good measure.
Step 14: Mouse over to the document and begin to paint the photo back in. Press the left bracket key, [, to cycle down in brush size and the right bracket key, ], to cycle up.
If you paint in too much of the photo, press X to swap color chips and hide that part by painting with black. This is the beauty of using the layer mask, as painting with white reveals and painting with black conceals.
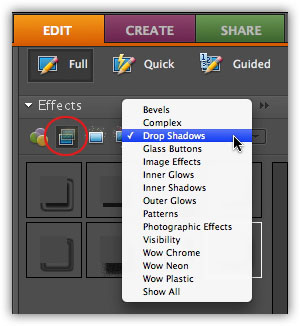
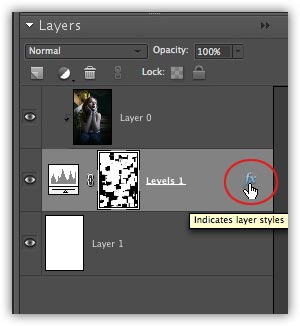
Step 15: As a final touch, let's add a drop shadow by clicking the Layer Styles button in the Effects palette (circled in red below). Then choose Drop Shadows from the pop-up menu immediately to the right.
Step 16: Double click any of the resulting drop shadow icons. You can edit the shadow by double clicking the tiny "fx" in the layers palette.
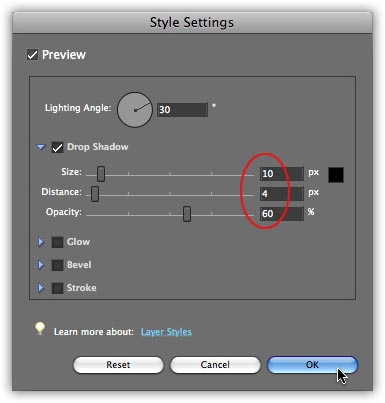
Step 17: Use the following sliders to alter the look of your shadow. I like my shadows very soft, so I entered a size of 10, distance of 4, and opacity of 60%.
Here's the finished product
And here's one more example using a cool mirror photo from iStockphoto (actually both photos are from iStockphoto).
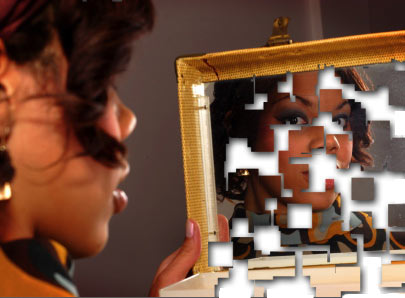
As you can see, all kinds of creative possibilities are to be had with this fun little technique.
Until next week, happy photo busting :)


PhotoLesa's photography gear provided by: