
PhotoLesa's photography gear provided by:


A simple way to spice up a photo is to add a touch of clip-art. Now, I’m not talking about the cheese-ball stuff that comes with Microsoft Office, oh heck no. I’m talking about the amazing, yet affordable stuff that you can get from folks like iStockphoto.com (click the link to receive 10 free, high-resolution images!).
The cool thing is that you can add such artwork to your Photoshop document as a Smart Object (Photoshop CS2 and latter). In doing so, Photoshop remembers everything about the original file—what kind of file it is, its original dimensions, and so on. This gives you the ability to resize the artwork infinitely without having to worry about losing quality. There are a couple of different ways to add vector art as a Smart Object, so choose the one that’s appropriate for you. Read on!
With this method, you need to have the vector artwork on your hard drive. We’ll navigate to where the image lives and import it into an existing Photoshop document.
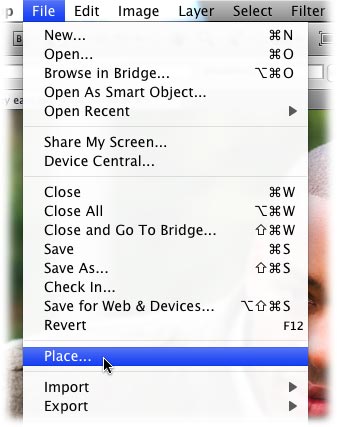
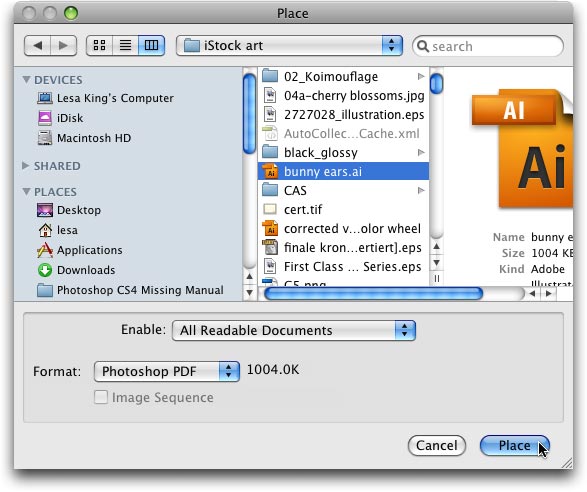
Step 1: Open a photo in Photoshop, trot up to the top of your screen and choose File > Place. Navigate to where the vector file lives on your hard drive and click Place.
Be sure to choose an EPS or AI file.
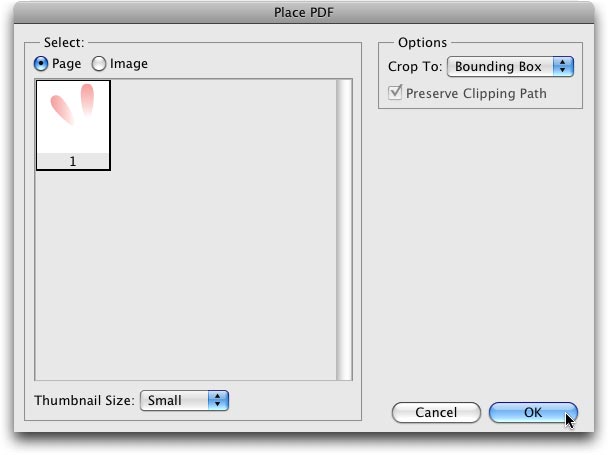
Next, Photoshop may open another dialog giving you a preview of what’s about to be added to your document. If that happens, go ahead and click OK.
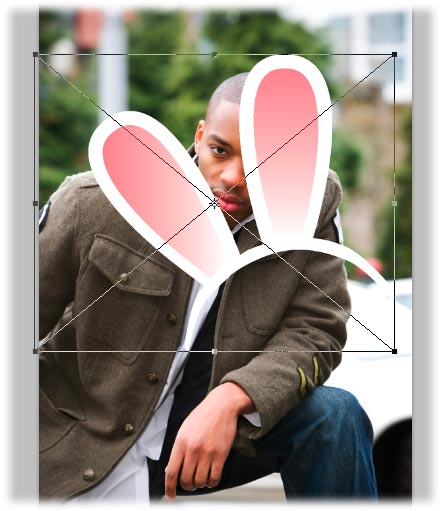
Step 2: Since the art will most likely need to be resized, Photoshop considerately surrounds it with the bounding box and resizing handles of Free Transform. Just Shift-drag any corner to make the art bigger or smaller (holding Shift resizes it proportionately so it doesn’t get “whoppy-jawed”). TIP: If you can’t see all four corners of the bounding box, press Command-0 (Ctrl-0 on a PC). This makes Photoshop resize your document window just enough for it to fit. If you need to rotate the art, place your mouse outside the bounding box and drag in the direction you want to rotate. Press Return (PC: Enter) to let Photoshop know you’re finished.
Over in your Layers panel, notice that the layer thumbnail includes a special badge letting you know you’ve added the art as a Smart Object.

Step 3: Press V to grab the Move tool and click and drag to move the new artwork into just the right spot. Here’s the finished product:
If you decide to resize the artwork later on, simply click the layer on which the artwork lives and summon Free Transform by pressing Command-T (Ctrl-T on a PC). Feel free to make the art as large as you want.
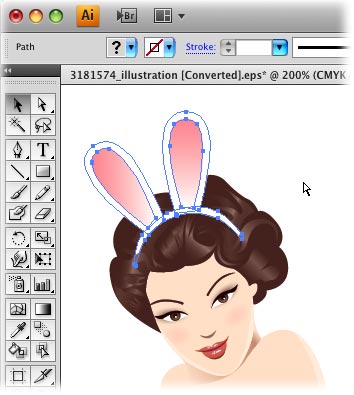
If you happen to be in a vector-based program like Adobe Illustrator, you can copy artwork to your computer’s memory and then paste it into your Photoshop document.
Step 1: Open the artwork in Illustrator and click to select the item you want to copy. Press Command-C (Ctrl-C on a PC) to copy the art to your computer’s memory.
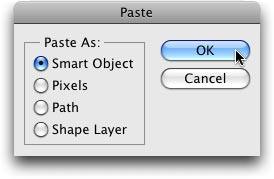
Step 2: Flip back over to your Photoshop document and press Command-V (Ctrl-V on a PC) to paste the art. In the resulting dialog, choose Smart Object and press Return.
Step 3: Use the provided handles to resize your artwork, rotate, and so on, then press Return when you’re finished.
As you can see, this kind of thing can be lots of fun around the holidays or family reunion! It’s also quite therapeutic for breakups too. Until next week, may the embellishment force be with you all!


PhotoLesa's photography gear provided by: