
PhotoLesa's photography gear provided by:


This week I thought I'd share the super simple technique of fading a photo to white. We'll take a photo snatched from over at iStockphoto.com and add a plain white color fade to one side. It's just the ticket for creating a backdrop for text, resulting in a very personalized invitation and/or postcard. Because we'll add the white on its very own layer, the technique is non-destructive. As a bonus, the steps are identical in both Photoshop and Elements.
Let's get started!
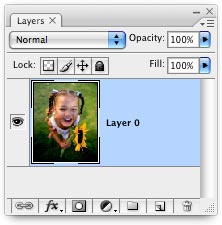
Step 1: Pop open a photo and double-click the background layer to make it editable. We're doing this because we're about to increase canvas space in step 2, in which we'll want a transparent background.
Step 2: Press C to select the Crop tool and draw a box around the image. Drag the middle right handle outward a good bit, as shown below:
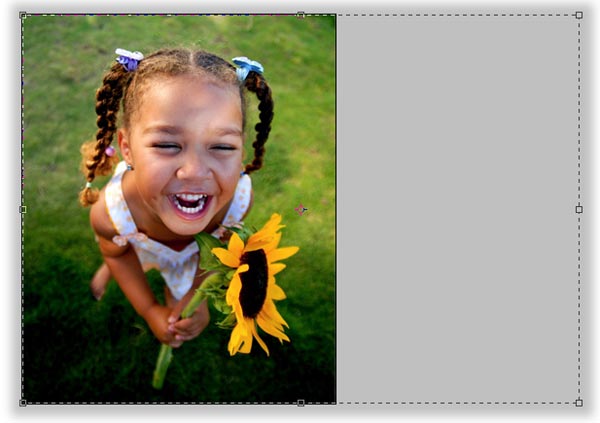
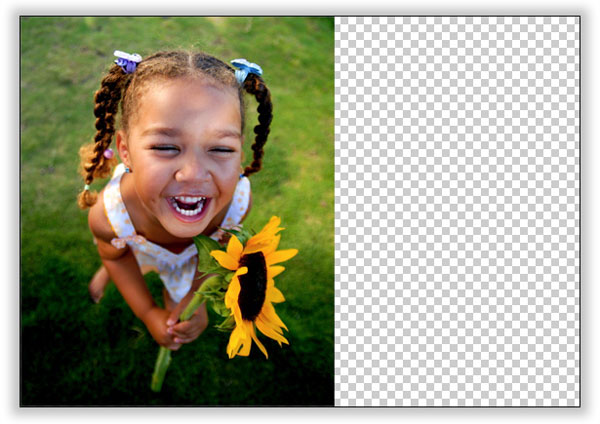
Press Return and take receipt of your new space:
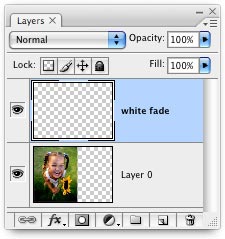
Step 3: Since we don't want to harm the original image, we need to create a new layer in which to place the white paint. Click the new layer icon at the bottom of the Layers palette (if you're in Elements, this button lives at the top of the Layers palette). You can also press Command + N (PC: Ctrl + N) to create a new layer and even give it a clever name, like white fade :)
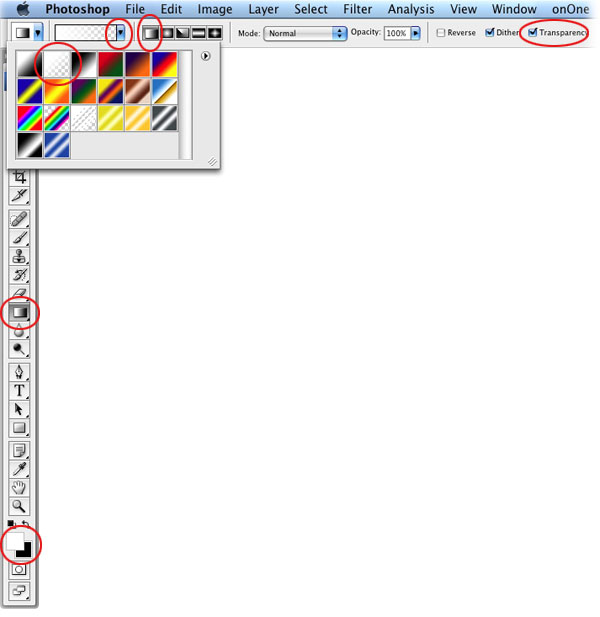
Step 4: Press D to set your color chips to the default of black and white, then press X until white hops on top. Press G to select the Gradient tool then trot up to the Options bar and open the Gradient picker by clicking the downward pointing triangle next to the gradient preview. Choose the white to transparent thumbnail, then make sure you have the Transparency box checked at the far right. (All pertinent settings are circled in red below.)
Step 5: Mouse over to the document then click and drag from the right side of the photo--not the edge, but fairly close--and drag toward the left. You'll see a little line appear as you drag. The farther you drag, the more subtle the fade will be. Don't worry if you don't it right the first time; just keep clicking and dragging until you get it just right.

TIP: If you want to start over, just select all by pressing Command + A (PC: Ctrl + A) and press the Delete key. That'll effectively zap everything on that layer so that you can start over.
Here's the finished product, with a little text lovingly placed on top:

See what I mean? Invitations made easy indeed! Until next week, happy color fading!


PhotoLesa's photography gear provided by: