
PhotoLesa's photography gear provided by:


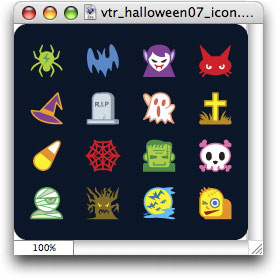
The leaves are turning, the weather is cooling (at least in some areas), and the Internet is just brimming with cute and fun holiday artwork. Take these cute Halloween, clip-arty illustrations I found over at iStockphoto.com. They practically *scream* digital scrapbooking.
But, what do you do with little jewels after you download them? Today I'm going to show you how to pop these babies open in Elements, make them the exact size you need, and how to stick them onto a photo, party invitation or whatever. A good portion of the digital scrapbookers at large are using Photoshop Elements, so that's the tool of the day (though the same techniques work in Photoshop CS2). Read on!
The first step in the process is to find (legally!) some really cute illustrations and that's easy at iStockPhoto. Just type "Halloween" in the Search box and choose Illustrations from the pop-up menu, as shown below:
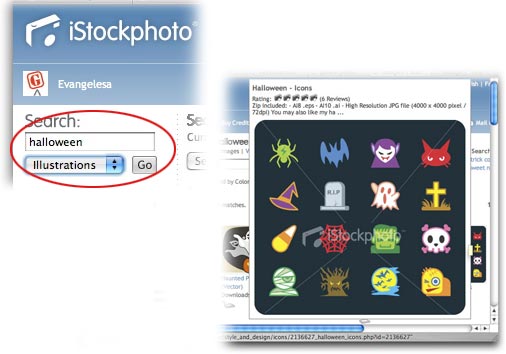
TIP: Just hover over any thumbnail for an enlargement, as shown at above right.
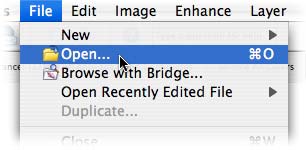
Step 1: Launch Elements and choose File > Open.
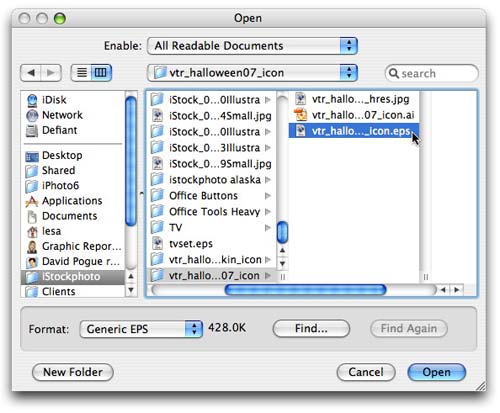
Step 2: Locate the newly downloaded artwork on your hard drive (it'll be an EPS file, as shown below) and click OK.
Step 3: In the resulting dialog, decide how big you want the art to be. Since it's an illustration, you can increase its size with zero quality loss; however, you have to do it right now, right here in this dialog and at no other time.
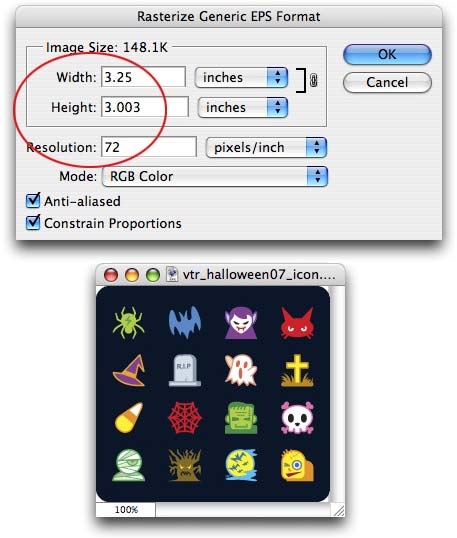
Above is the size our artwork would be at the default import settings, which is pretty small. If we were to zoom in or try to increase its size later, the blurry mess below is what we'd get. Yick.
Step 4: To make the art bigger, just open the file again and enter larger numbers in the width and height boxes, like so:
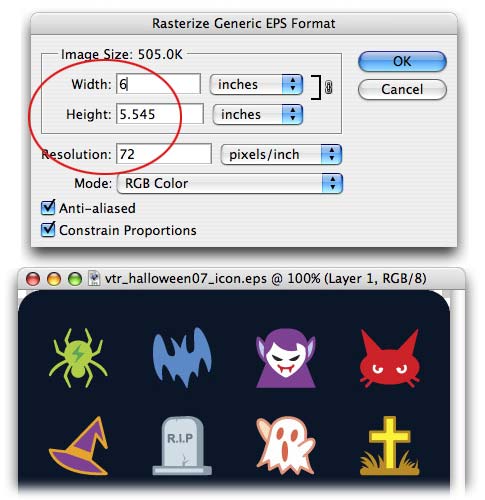
See how the art got bigger once it opened?
Step 5: You'll notice I haven't touched the resolution box and that's because I've *just now* decided to add this art to something I want to print. This means I have to pump up the resolution so the printer can pack the pixels close enough together that they make a smooth print. This time I won't increase the physical size, because I really do need these icons to be about 3 in x 3 in, but I will increase the resolution.
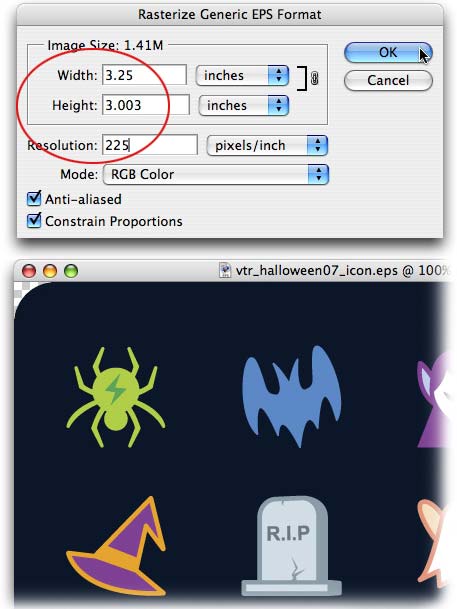
When you increase the resolution, the art appears bigger on the screen, but it'll print at the physical dimensions listed in the box up above. Sounds confusing, but it has to do with the pixels being packed tightly together when they're printed, and them being rather loosely assembled on the screen (though your eyes can't tell the difference). At least, that's one way of getting your head around the concept :)
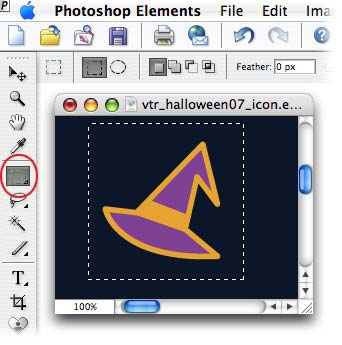
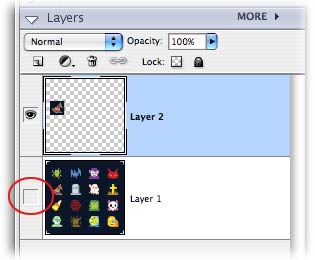
Step 7: Press Command + J (PC: Ctrl + J) to jump the hat up onto its own layer, and turn off the visibility eyeball of the original layer, as shown below.
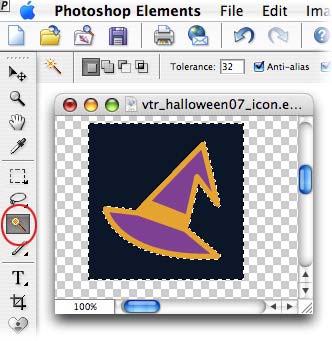
Step 8: Since the background is solid black, it makes sense to grab the Magic Wand to zap it. Click once in the black area and you'll see the marching ants, as shown below. Press Delete to send it packing.
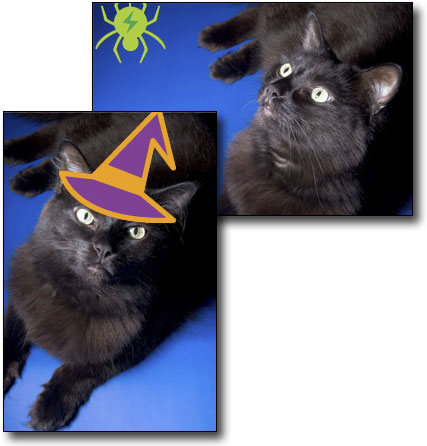
Step 9: Drag the hat layer onto the open photo of a black cat, and using the Move tool, position the hat in just the right spot.
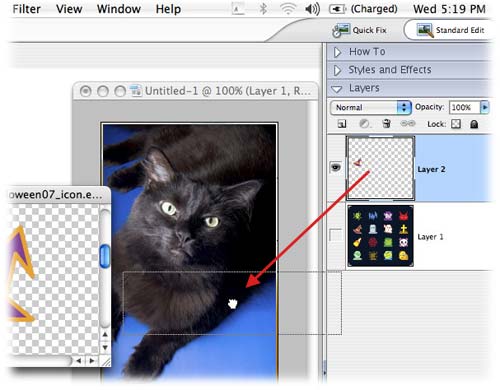
Tada! Houston we have Halloween kitties.
The beauty of working with an illustration is that you get to decide how big you want the art to be. Through trial and error, you'll figure out the right size for the right photo, and if you keep the original art, you can use it again and again at any size you want.
Until next time, happy trick or treating!


PhotoLesa's photography gear provided by: