
PhotoLesa's photography gear provided by:


Imagine gazing upon the perfect picture on your screen. You've cropped the distracting bits out of the background, color corrected it to perfection, smoothed a wrinkle here and zapped a bag there, and last but not least you've applied just the right amount of sharpening. It's breathtaking and quite possibly the best shot you've ever snapped in your life. Your skin begins to tingle, goosebumps travel up your spine and you know beyond a shadow of a doubt that the photo must live in print!
But, now what do you do? Don't you have to worry about resolution and resizing and how to make it print with no annoying white border? The answer is yes, but both Photoshop and Elements can take the pain completely out of the process if you know the trick. Sure there are 100 ways to do the same thing in both Photoshop and Elements, and that holds true when it comes to resizing images for print; however, if you want to print an image in a common size -- 4 x 6, 5 x 7, 8.5 x 10 and so on -- both programs will do all of the resizing and resolution refiguring for you.
Assuming your masterpiece is open and your printer is loaded with super expensive paper, follow these steps. We'll go through it first in Elements, then I'll show you how it differs (which is very little) in Photoshop later on.
Step 1: Trot up to the top of your screen and choose File > Print. Get ready for a huge dialog box to overtake your screen. Don't let that scare you as we'll be dealing with the preview and middle bits only. At the top of the dialog box, select your printer from the Printer pop-up menu as shown below. Next, select the target size from the Print Size pop-up menu. NOTE: Notice how there's a white edge around the image in the Preview window below.
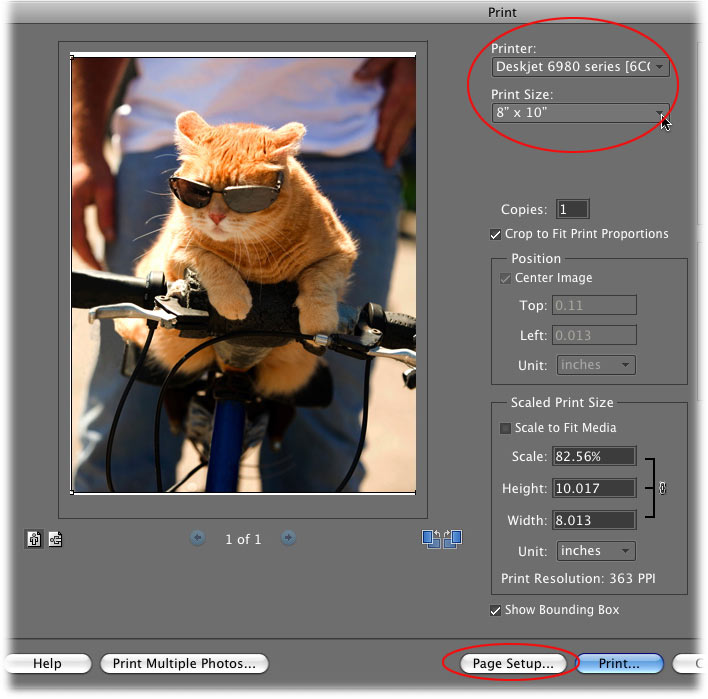
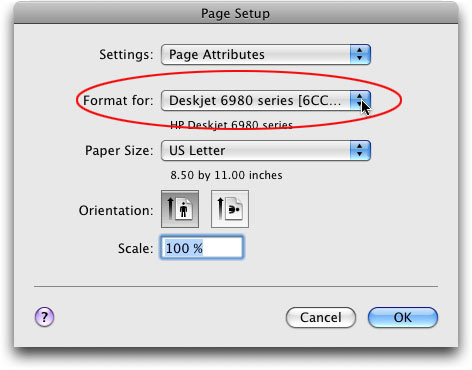
Step 2: At the bottom of the dialog box Print dialog box, click Page Setup (circled in the screen shot above). In the resulting Page Setup dialog box (shown below), choose your printer from the "Format for" pop-up menu. TIP: If you're in Photoshop, this button lives at the top of the dialog box, as shown farther down in this tutorial.
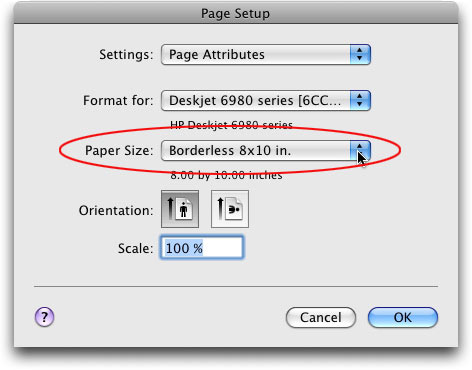
Step 3: Click the Paper Size pop-up menu (circled) and scroll up until you find the correct paper size, (8 x 10 for this example), then choose the Borderless option for that particular size, as shown below. If you don't pick the borderless option, you'll end up with a white edge around your photo. This can lead to extreme aggravation which could involve cursing and/or yelling.

Once you pick the borderless option, you should see it appear in the Paper Size pop-up menu, as shown below. Go ahead and click OK when you're finished.
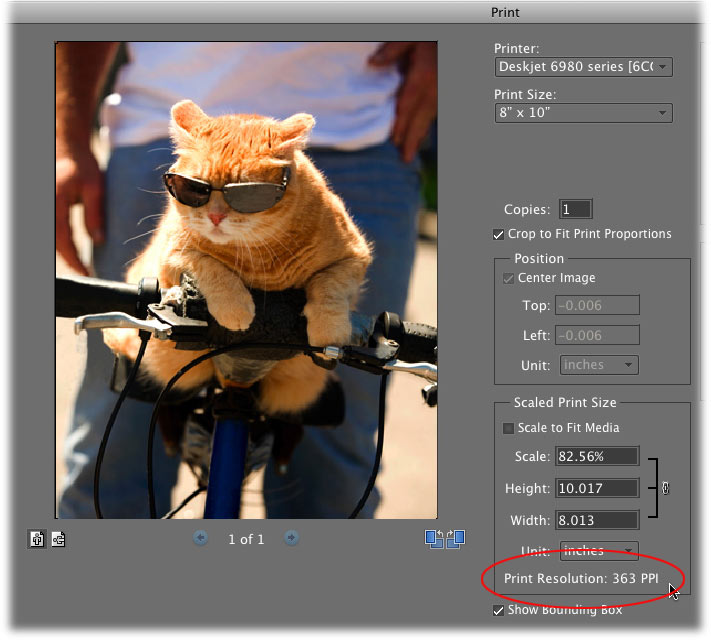
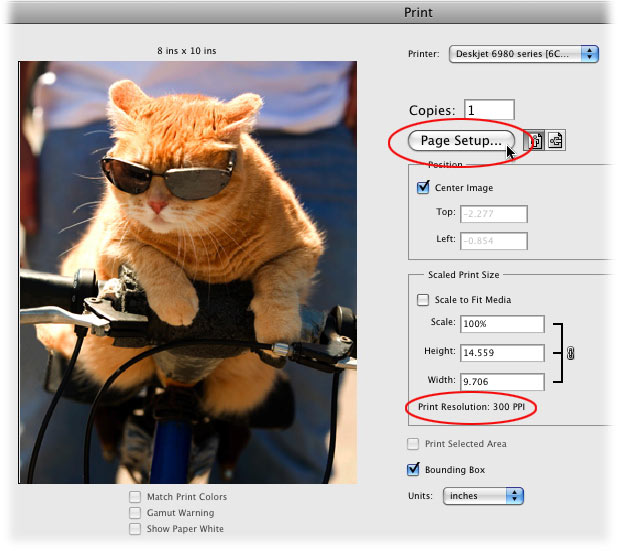
Step 5: Back in the Print dialog box (which is still open), take a peek towards the bottom of the dialog box where it says Print Resolution (circled below). If the number is over 200, you're good to go. That means the pixels in your image will be small enough that you won't see them in the print. If the number is under 200, the pixels may appear big enough to spot and the image may look blocky. Even so, if the number is above 150 you're probably okay. If it's under 100, don't waste your time and paper because the image will look like Legos. If you've decided to give it a go, press the Print button at the bottom right of the dialog box. NOTE: Notice how there are no white borders around the preview window below.
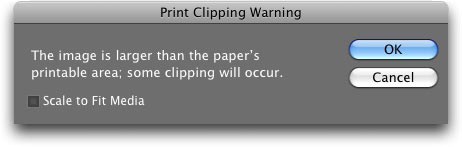
Step 6: Most likely, Elements will fuss a bit and tell you that the print is larger than the paper. Go ahead and press OK and get ready for another Print dialog box.
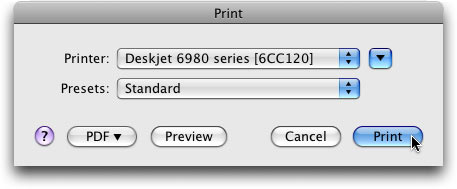
Step 7: This is the last one, I promise! In this Print dialog box, go ahead and click Print.
Now tap your toes and wait impatiently for your print to emerge from the printer.
In Photoshop, the steps are the same except there's no Print Size pop-up menu in the first Print dialog box like there is in Elements. Instead, click the Page Setup button toward the top of the dialog box (circled) and then choose the correct size from the Paper Size pop-up menu as shown earlier in Step 3.
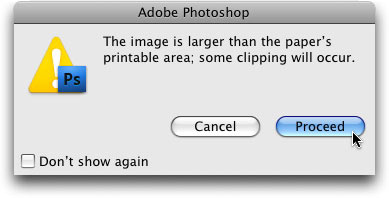
Once you've chosen the borderless option from the Page Setup dialog box and pressed OK, check the resolution number shown in the first Print dialog box (circled in the screen shot above). If you're ready to send the image off to the printer, click the Print button at the bottom of the dialog box and Photoshop will dutifully let you know that your image is bigger than the paper. Go ahead and click Proceed, then click Print in the next (but final!) Print dialog box.
Whew! Anyone need a nap? It's a job, for sure, to navigate through all of those dialog boxes but as you've seen, the real trick lies in remember to click the Page Setup button and picking the borderless option of the paper size onto which you want to print. Also, watch that resolution number and make sure it's high enough to give you a good quality print (200 or more).
Until next week, may the borderless printing force be with you all!


PhotoLesa's photography gear provided by: