
PhotoLesa's photography gear provided by:


I have the attention span of a gnat. Seriously. I get bored easily, I rarely enjoy leftovers, and I make faces when I'm forced to do the same thing over and over again. That's why you'll see me using different frames -- edge effects, rather -- on photos throughout this site. I'll do the Black Hairline Pixel Edge thing for a bit, followed by the Soft Fluffy Feathery edge thing for a while, and I've even been known to hop over to iStockphoto and download real picture frames to plop photos into. Just anything to jazz things up.
Today I'd like to share with you my Edge Effect of the Moment: a quick Polaroid. I've gotten quite a few emails asking how to do it and I'm happy to say it's extremely easy to perform (the steps are the even same in Photoshop and Elements). Creating a Polaroid-ish edge is a fast way to add a touch of creativity to your photo which is sure to astound friends and family. And this particular technique lends itself to what I like to call a Captioning Opportunity, allowing you to commermorate those extra special events such as coming in second in a boys-only poker tournament ;)
Step 1: Pop open a Soon To Be Framed image and double-click the Background layer so that it becomes editable. Make the document window larger than the photo itself so can see the gray work area around the image, as shown in the next step.
Step 2: Press C to select the Crop tool, and draw a crop box around the image. Pull out the handles as shown below: about 1/4 inch on the left, top, and right, then about 1/2 inch on the bottom (that's where the caption will soon live). Press Return to take receipt of your new space. You should now see a transparent checkerboard background surround your photo.

NOTE: If you skipped step 1 (for shame!) the area around the photo will be the color of your background color chip. That is not what we want. If this happened to you, press Command + Z (PC: Ctrl + Z) and begin again.
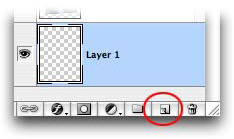
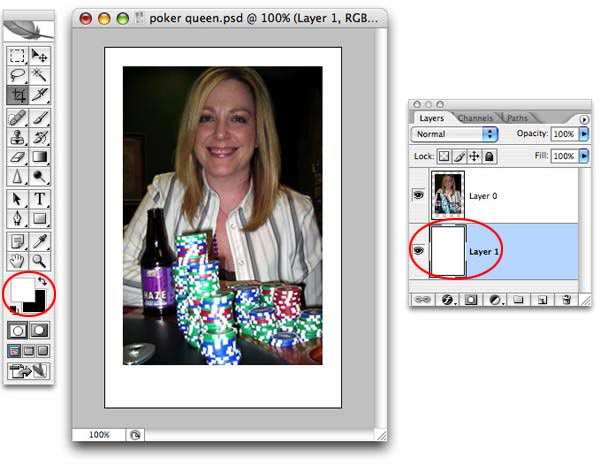
Step 3: Command click (PC: Right click) the new layer icon in the Layers Palette to add a new layer *beneath* the one you're on. In Photoshop this button lives at the bottom of the Layers Palette as shown below, and in Elements it lives at the top left.
Step 4: Press D to set your color chips to the default of black and white, and press X until white is perched on top (as shown below). Press Option + Delete (PC: Alt + Delete) to fill the new layer with white. Here's what we have thus far:
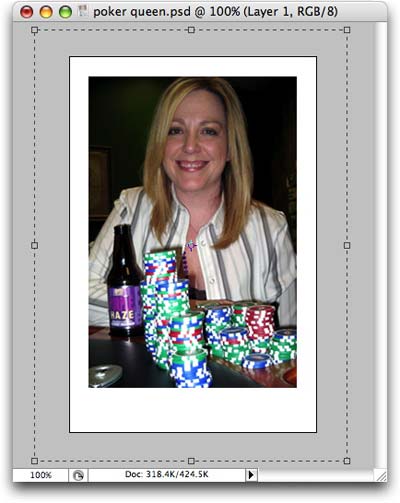
To create a true Polaroid effect we'll have to do a couple more things like rotate the image slightly, add a drop shadow, and tack on a caption. To do these things, we need a bit more breathing room.
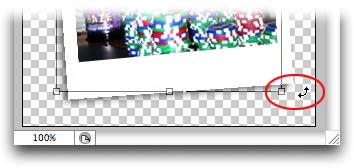
Step 5: Press C to select the Crop tool again, and draw a box around the image. This time add space on all four sizes equally. Press Return to accept the crop.
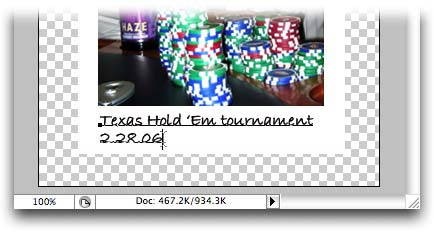
Step 6: Press T to select the Type tool and add a caption at the bottom of the polaroid-ish frame.
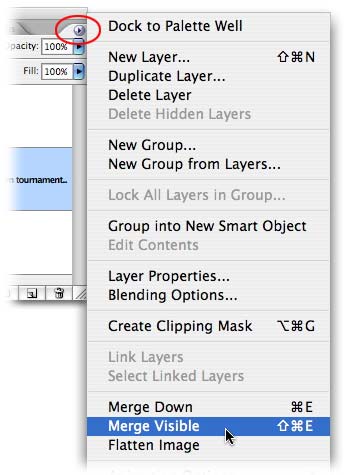
Step 7: When you have everything *just* right, choose Merge Visible from the Layers Palette pop-up menu. NOTE: In Elements, this menu is called "More" and it lives in the same spot.
Step 9: Click the tiny cursive "f" at the bottom of the Layers Palette and choose Drop Shadow. I increased the size of the drop shadow quite a bit so it would show up on the right side of the photo to define the edge. I also lowered the opacity of the shadow just a bit.

Here's what we end up with:

Cute 'eh? Just a little something different. And just think of how impressed your family and friends will be when you email them something like this instead of the mundane original!
That's all for now, so until next week, happy framing ;)


PhotoLesa's photography gear provided by: