
PhotoLesa's photography gear provided by:


With Apple's release of iWeb -- an amazing web site building tool -- I've been getting a steady stream of emails wanting to know how to recreate the nifty photo reflection effect which appears at the top of iWeb pages and in the slide shows (here's a sample). Adding such a reflection is a super easy way to add depth and a bit of sophistication to your photographs.
Today I will show you how to create a reflection of your very own in Photoshop, and we'll do it in a manner that retains maximum flexibility within our document so you can plop your photo onto any color background you want.
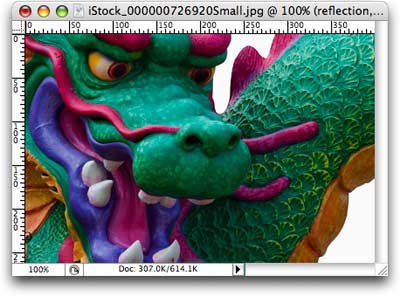
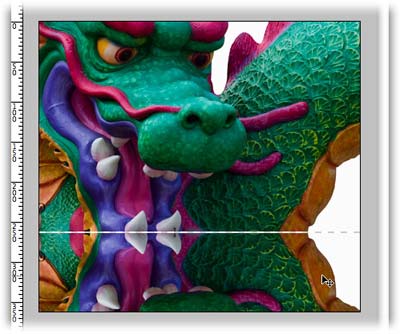
Those of you who've been reading my graphics tips know that I'm slightly enamored with dragons at the moment (yes I'm the throes of reading Eldest). With that in mind, I took a journey to iStockphoto and searched on the keyword combination: dragon fantasy. And just to prove that iStockphoto really does have the perfect image for any project, (beams with pride) look what I found:
Step 1: Pop open a Soon To Be Beautifully Reflected Photo, and immediately duplicate the Background layer by pressing Command + J (PC: Ctrl + J).
TIP: If you have nothing selected (no marching ants) Command + J duplicates the entire layer. If you do have a selection, Command + J pops just that portion up onto its own layer. This is a handy keyboard shortcut to have in one's bag-o-tricks.
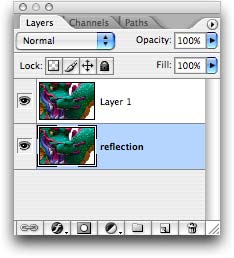
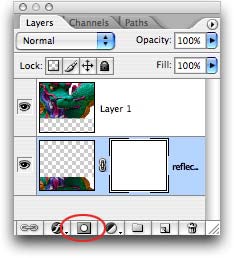
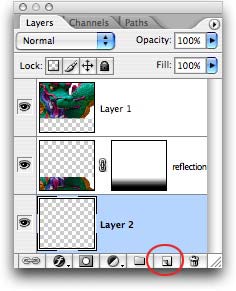
Step 2: Double click the Background layer so that it becomes editable, and name it "reflection". This is what my Layers Palette looks like now:
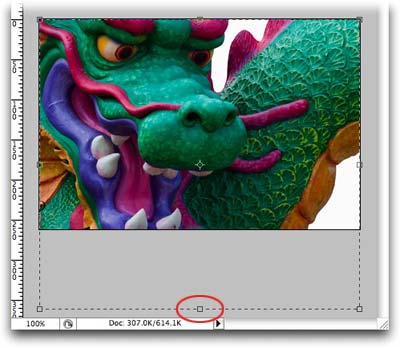
Step 3: We need some room for our reflection so let's increase the canvas size. Press C to select the Crop tool, draw a box around the image, and drag the bottom handle out a ways as shown below. Press Return to accept the Crop.
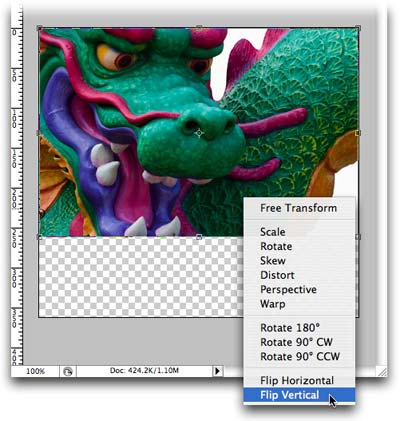
Step 4: While the reflection layer is still selected (it'll appear light blue in the Layers Palette), press Command + T (PC: Ctrl + T) to invoke Free Transform. Control click (PC: Right click) within the transform box and a contextual menu will appear. Choose Flip Vertical and press Return to accept the transform. This flips the reflection layer upside down.
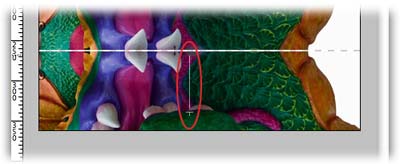
Step 5: Press V to select the move tool. Press and hold the Shift key while dragging the reflection layer to the bottom of your document, so that the ends of the two photo layers *almost* meet. For the iWeb reflection effect, you want to leave a 1-2 pixel gap between the photos, like so:
TIP: Holding the Shift key while moving a layer locks it into place horizontally (or vertically), depending upon the direction you're dragging. Just another example of how Photoshop helps to protect us against ourselves.
Step 6: Add a layer mask to the reflection layer by clicking the circle within a square icon at the bottom of the layers palette.
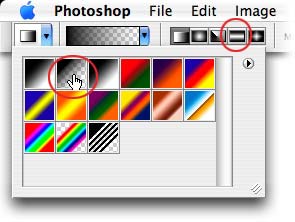
Step 7: While the mask is still selected (note the tiny hairline border around it above), press G to select the Gradient tool. From the options toolbar at the top of your screen, choose Foreground to Transparent from the pop-up menu, then click the Reflected button, as shown below.
Step 8: Back on the document, click towards the bottom of the image and then drag upward to roughly the height you'd like the reflection to be. I held the Shift key down to lock the gradient into being perfectly straight.
TIP: If you're non-plussed by your first Professional Gradient Dragging Attempt, just give it another go.
Step 9: Command click (PC: Ctrl click) the New Layer icon at the bottom of the Layers Palette. TIP: Holding the Command (or Ctrl) key makes the new layer appear below the current layer. Very handy indeed.
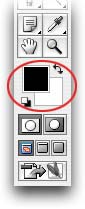
Step 10: Take a peek at the color chips at the bottom of the main Toolbox. If necessary, press D to set them to the default of black and white, then press X until black hops on top. Fill the new layer with black by pressing Option + Delete (PC: Alt + Delete).
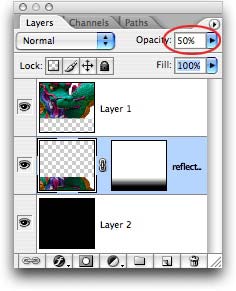
Step 11: To complete the effect, select the reflection layer and lower the opacity to about 50%.
Here's the final result:
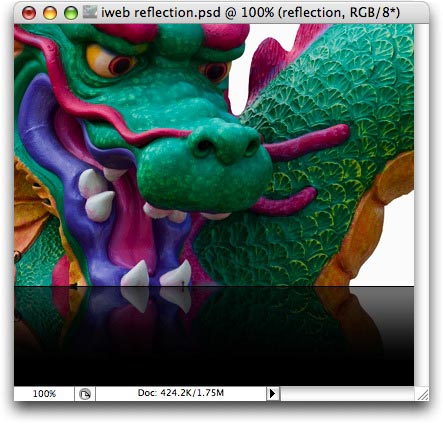
See how easy that was? And flexible too: By choosing a foreground to transparent gradient and by putting the black background on its own layer, you can experiment with your background color, and make it match whatever you want to place the photo on.
Until next week, may the Photoshop force be with you all ;)


PhotoLesa's photography gear provided by: