
PhotoLesa's photography gear provided by:


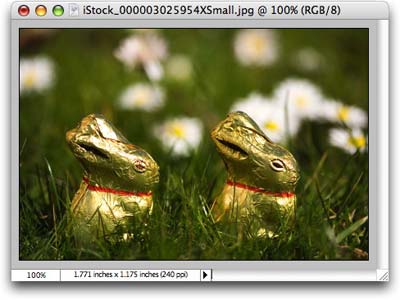
So I was trolling through the Easter imagery recently over at iStockphoto. They've got these neat things called "seasonal searches" where with one click I can choose to see all the photos, illustrations, or video of stuff like bunnies, eggs, bonnets, etc. without having to guess what keywords the contributors used. It's a fantastic way to blow off an hour.
I found all manner of cutesy pictures, though, I have to say, a couple were lacking a little "somethin' somethin'". That somethin' was a sparkle; just a little touch of bling here and there.
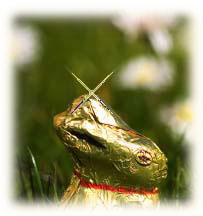
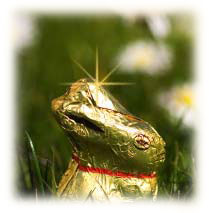
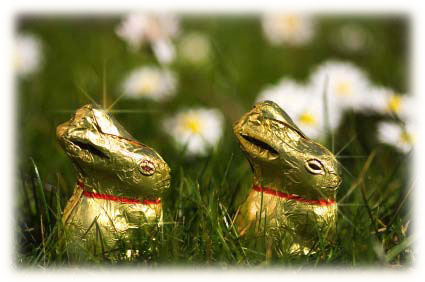
Coincidentally, "how do I create a sparkle" is one of the more frequent questions I get. Therefore, that's what we're going to talk about today. Turns out, there's a brush hidden both in Photoshop Elements and Photoshop that's absolutely perfect for creating sparkles. For example, I submit the following piece of evidence:
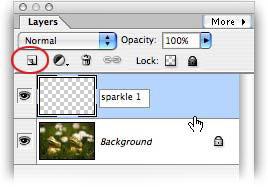
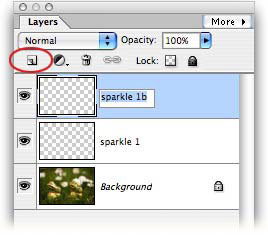
Step 1: Pop open the Soon To Be Sparkling image and create a new layer by clicking once on the new layer icon at the top left of the layers palette (in Photoshop, this button lives at the bottom of said palette). TIP: You could also press Shift + Command + N (PC: Shift + Ctrl + N) to create a new layer. Double-click the layer and name it "sparkle".
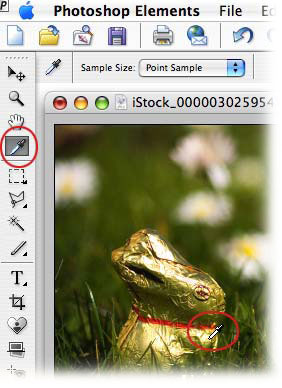
Step 2: Next let's select a color for our sparkle. If you're read many of my tutorials, you know I'm a big fan of sampling a color that already lives in the photo. To do so, select the Eyedropper tool and click once on the area of color you want to pick up. When you do so, that color will appear as the foreground color chip in the mail toolbar.
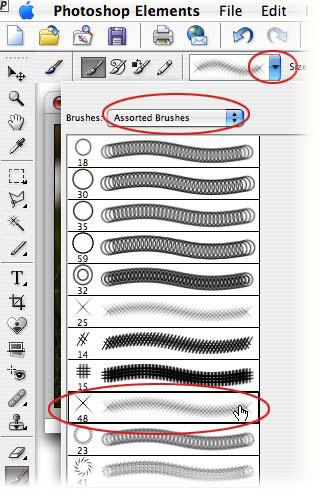
Step 3: Press B to select the Brush tool and hop up to the Options toolbar at the top of your screen. Activate the Brush pop-up menu by clicking the downward pointing triangle circled below in red. Next, click the Brushes pop-up and pick Assorted Brushes. Scroll down until you see one of the two "crosshatch" brushes, circled below. Click once to select the one of your desire (I like the second one. That's just me. Your opinion may differ. And that's okay.)
Step 4: Mouse back over to the photo and click once to add your sparkle. TIP: Don't worry so much about where you place the sparkle; you can always press V to select the Move tool later and put it in just the right spot.
TIP: Since this is a brush, you can press the left bracket key, [, to cycle up in brush size, and the right bracket key, ], to cycle down.
NOTE: Resist the urge to add more than one sparkle per layer. You can, of course, but you'll lose some flexibility as you'll see in a moment.
Step 5: Add another new layer by pressing Shift + Command + N (PC: Shift + Ctrl + N) and name it small "sparkle 1b". We'll use this layer to create another sparkle that we'll rotate.
Step 6: Click once on the image to add another sparkle and again, don't worry so much about where you put it. We can move it in a minute.
Because we've placed each sparkle on its own layer, we can do all sorts of things like resize and rotate them.
Step 7: With the "sparkle 1b" layer selected, press Command + T (PC: Ctrl + T) to bring up Free Transform. Hover your mouse cursor slightly below each corner and the cursor will turn into a curved arrow. Click and drag any direction to rotate the sparkle, then press Return to accept the rotation.
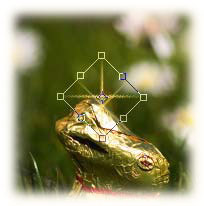
Step 8: Press V to select the Move tool and move the rotated sparkle into place.
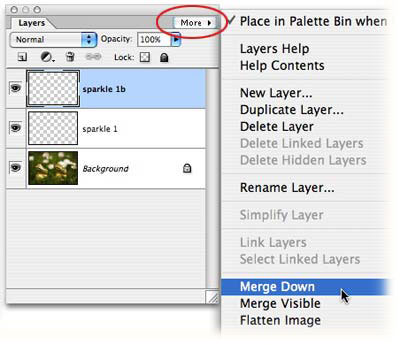
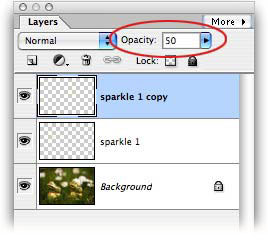
Step 9: To add even more sparkles, you can keep creating each piece on its own layer, or you can merge the two layers we already have and duplicate it. The latter is the method we'll use, so with the topmost sparkler layer selected, click the little More tab at the top right of the layers palette and choose Merge Down.
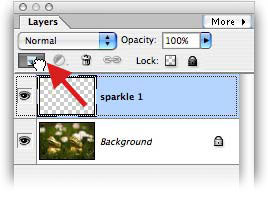
Step 10: To create another sparkle layer, just drag it up and onto the new layer icon, like so:
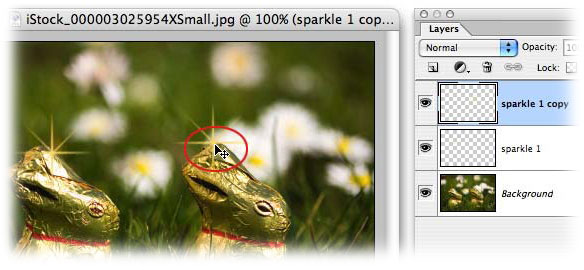
Step 11: Press V to select the Move tool and put the new sparkle into the right spot.
Step 12: If any of your sparkles seem too bright, just select that layer and lower its opacity a bit.
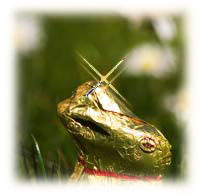
That's all there is to it! Here's what we end up with:
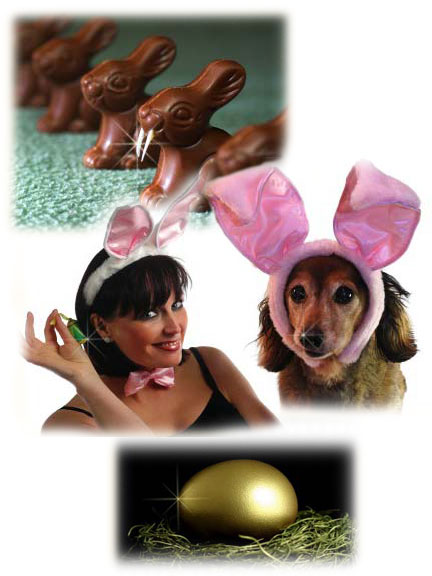
The beauty of creating each sparkle on its own layer is that you can move them around anywhere you want, spin them around, and control their intensity with the opacity slider. Pretty sweet, huh?! Here are a few more pictures I played with:


PhotoLesa's photography gear provided by: