
PhotoLesa's photography gear provided by:


Today I'd like to share with you a special little time saver I picked up from the Great Kelby. I've affectionately dubbed it the Halo Zapper because it has an amazing power to blast the heck out of edge haloes leftover from removing a background.
Case in point: If I wanted to knock out the background of this cute little pumpkin from iStockphoto (actually, it began life as vector art), the tool of choice would be the Magic Wand. Since the background is a solid color, a "select by color" tools seems the perfect choice. There's just one problem: When you plop the object onto another background, you're likely to see a tiny halo of color emanating from the stray pixels left behind around the edges. Today, however, you're going to learn the fix. Read on!

Step 1: Open the image with the offending background in Photoshop, and double-click the Background layer so it becomes editable.
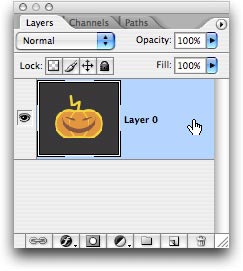
Step 2: Select the Magic Wand tool by pressing W and click once on the background area of the image.
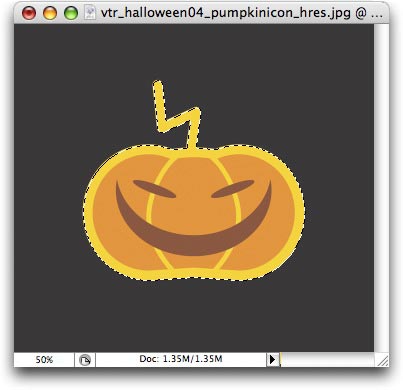
Step 3: Now we have marching selection ants surrounding the background, which is the exact opposite of what we want. Invert the selection by pressing Shift + Command + I (PC: Shift-Ctrl-I), and the pumpkin is surrounded by marching ants.
Step 4: Create a layer mask by pressing the circle within a square icon at the bottom of the Layers Palette. The background of the image should disappear (it's still there, just hiding behind the mask). This is what we have:
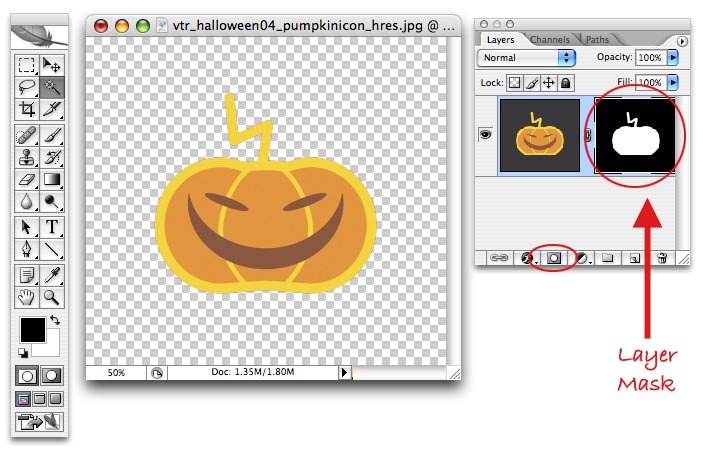
At a glance, it appears we have a nice, form-fitting selection. Negative good buddy. Let's zoom in and take a closer look.
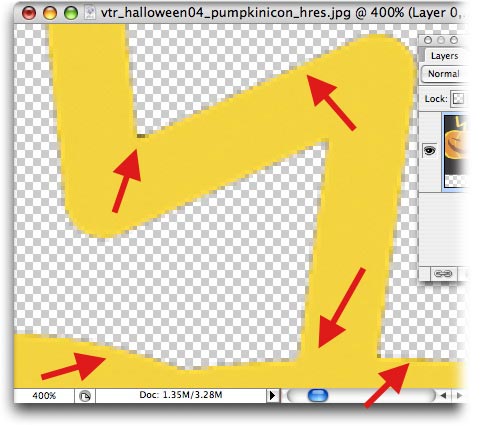
At 400%, notice how loose the selection really was. The arrows below point out the problem spots:
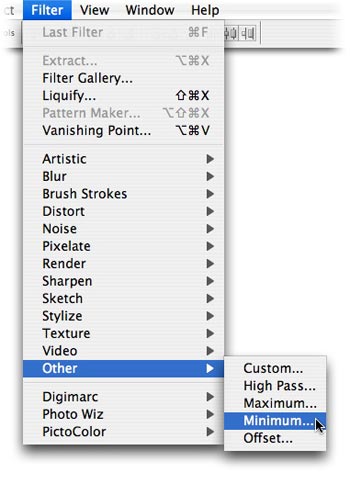
Step 5: While the layer mask is still selected in the Layers Palette (it'll have a tiny black border around it), proceed to the Filter menu and choose Other > Minimum.
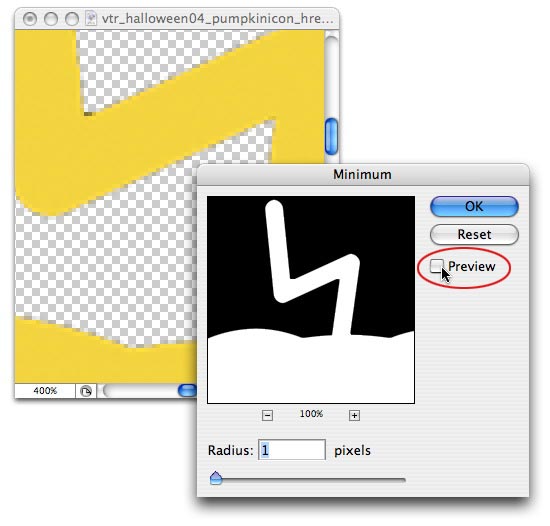
Step 6: Enter a value of 1 for the Radius in the resulting dialog and watch those edges. Notice what our edges look like now, shown below with Preview turned off.
And what happens after running the filter:

Notice how all the gray pixels have disappeared? Amazing! If you were to increase the Radius, the image would literally start to shrink away:
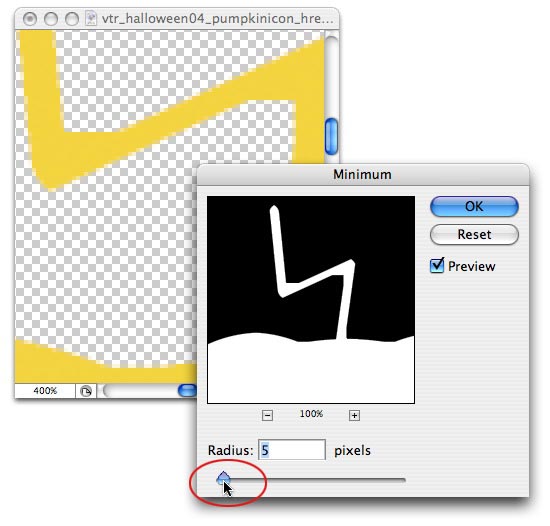
Looks like more of a Tim Burton-ish pumpkin now doesn't it?
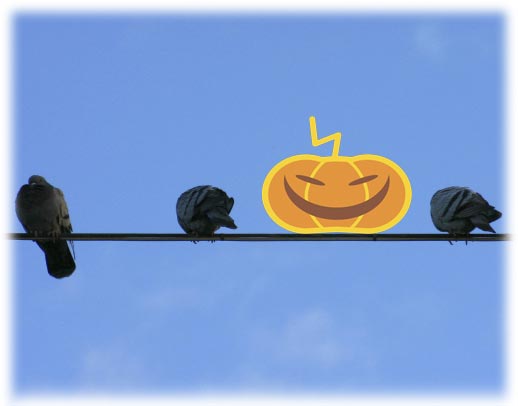
Shrinking the image just a bit is the perfect fix for edge haloes or fringing, as it's called. But remember, this trick only works if you have a layer mask to run the filter on. Now I'm free to put my pumpkin anywhere:
That's all for this week! Until next time, may the Halo Zapping force be with you :)


PhotoLesa's photography gear provided by: