
PhotoLesa's photography gear provided by:


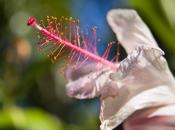


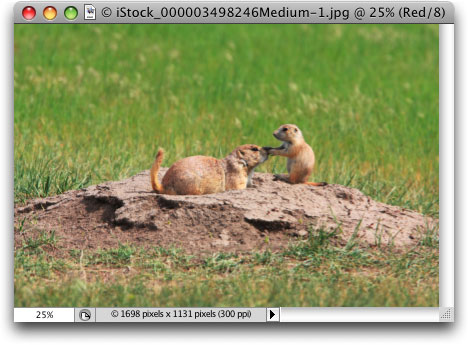
Let’s say you’ve been out shooting in the Texas plains and, once you’re parked back at your computer, you come across an oh-so-cute prairie dog mama and baby shot like this:
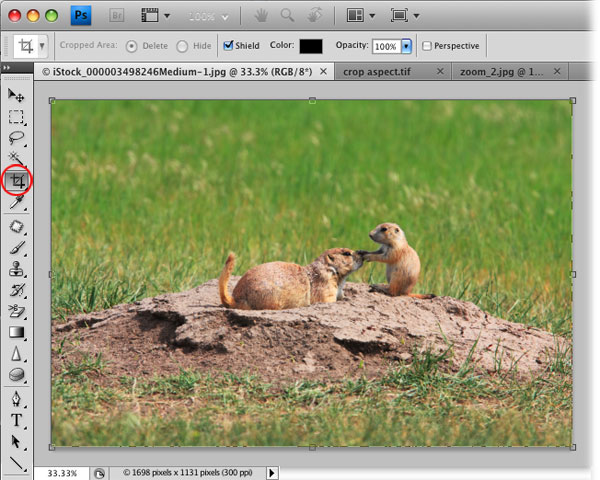
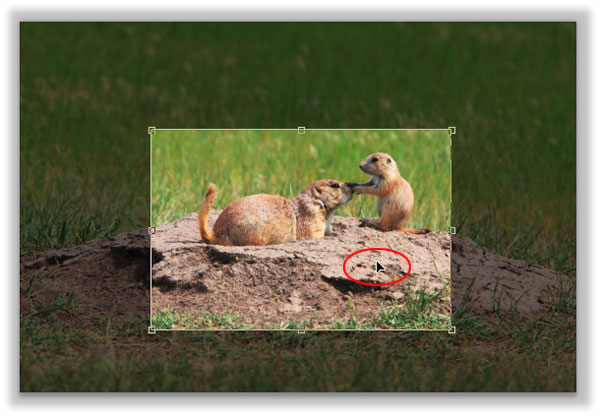
Step 1: Open a photo and press C to grab the Crop tool. Draw a box around the entire image and while holding the Shift key, drag one of the corner handles inward.
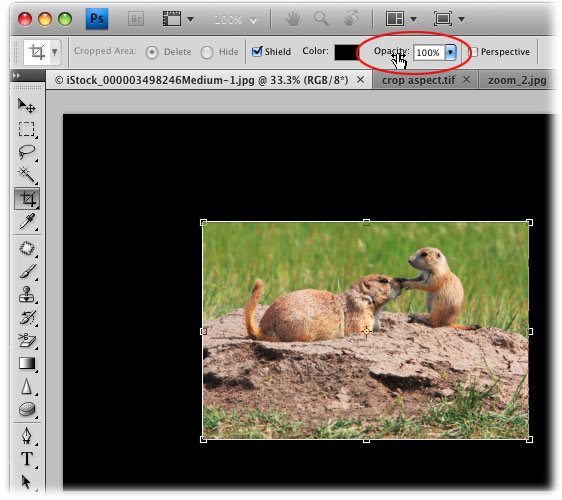
TIP: Anytime you’ve got an active crop box, Photoshop darkens the background of the image (the area outside the box) in an attempt to give you an idea of what the final cropped image will look like. If you want to make the background solid black instead, which really lets you see what the crop will look like, trot up to your Options bar and change the Shield opacity to 100%, as shown below (or hover your cursor over the word Opacity and drag the scrubby cursor to the right).
Step 2: Once you get the crop box the right size, you can drag it into place. Just click inside the crop box and drag it into the right position atop your image. Your cursor will turn into a little arrow (circled below).
Step 3: When you’re finished, press Return (Enter on a PC) to accept the crop. Tada, you’re done.
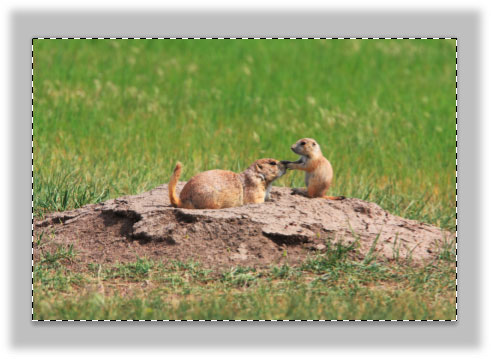
Step 1: Open a photo, select the layer on which it lives, and then press Command+A (Ctrl+A on a PC) to select everything on that layer. This creates a selection around the entire photo that you can resize and then use to crop.
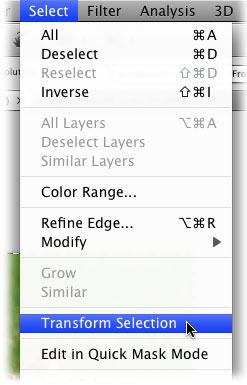
Step 2: Choose Select®Transform Selection. Photoshop will then place a resizable bounding box around the selection (it’s hard to see with the marching ants, but you’ll spot the little corner resizing handles).
Step 3: While holding the Shift key to preserve the selection’s aspect ratio, drag one of the square corner handles inward. If you want, reposition the bounding box by clicking inside it and dragging, just like you would a crop box. You can also click and drag within the selection area to move it to the right spot on your image.
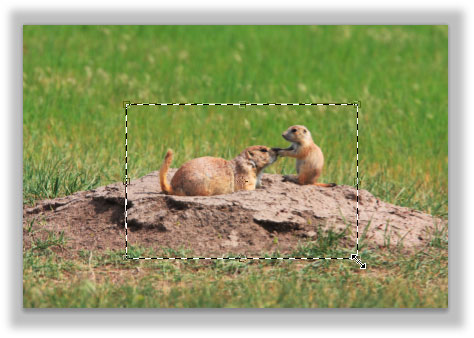
Step 4: When you get the bounding box just right, press Return (Enter on a PC) or double-click inside the box to accept it. The resizing handles will disappear, though you’ll still have marching ants, which is exactly what you want.
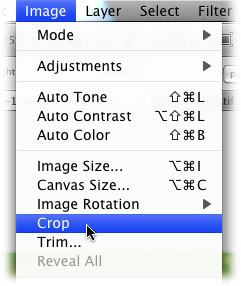
Step 5: To crop the image to the dimensions of the selection, choose Image®Crop to get rid of the portion outside the selection.
Step 6: Dismiss the selection itself by pressing Command+D (Ctrl+D).
Here’s the final product—be sure to note the odd shape of the middle image shown below versus the one on the bottom, which retains the aspect ratio of the original:
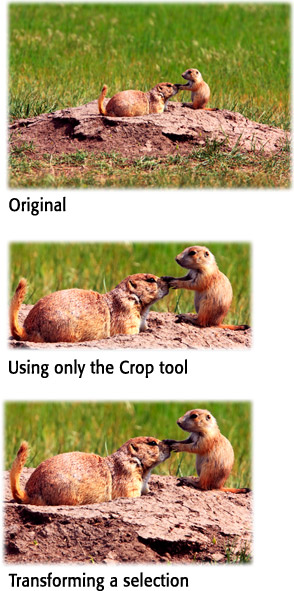
By using either method, you’ve just zoomed in on part of your photo (the cute little prairie dogs) and cropped it to the same aspect ratio as the original. Whee! It doesn’t get more exciting than that.
Until next week, may the zoom-crop force be with you all :)


PhotoLesa's photography gear provided by: