
PhotoLesa's photography gear provided by:


Just go on and admit it, you know you want to. Since the first time you cast your tender eyes upon the newspaper comic section -- I call it "the funnies", though these days it's more "the sorta funnies" -- you've wondered what you'd look like as a cartoon character. That's okay; there are million who quietly harbor the exact same fantasy.
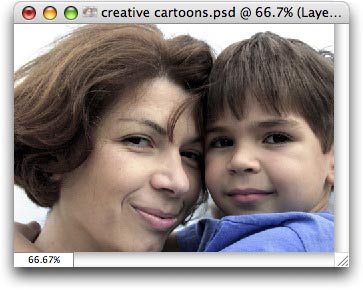
During a fit of adult ADD this week, I found myself trolling Elements' filter list and before my husband could yell "HONEY, YOU'VE GOT TO FOCUS!", I created a piece of cartoon art with an el coolio sepia twist. I shall share it with you now, using the following photo of an oh-so-cute mother and son snatched from the bowels of iStockphoto.com.
We're going to start off by recolorizing a photo with a seldom-used filter called the Gradient Map. A neat effect in and of itself, it's going to give the finished product a water-color look.
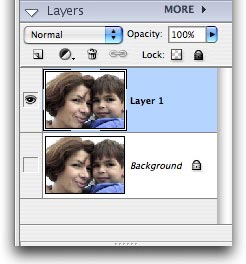
Step 1: With the Soon To Be Cartoonized photo open in Elements, immediately press Command + J (PC: Ctrl + J) to duplicate the Background layer. Turn the visibility eyeball off as we're only doing this to protect ourselves from ourselves. This way, if the tutorial goes bad (as some are want to do), we can toss everything but the original layer and be safely back at square one.
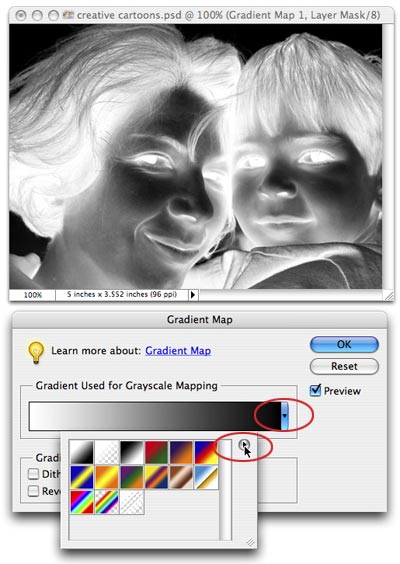
Step 2: From the Filter menu, choose Adjustments > Gradient Map, and brace yourself for the resulting x-ray you're about to produce.
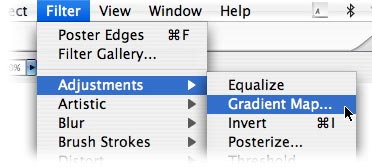
Step 3: Since an x-ray isn't what we're after today (and if you are, by all means stop here), let's change the gradient by clicking the little triangle to the right of the gradient preview circled below in red. Immediately click the little triangle to the right of the resulting pop-up of gradients so we can load some different choices (also circled below in red).
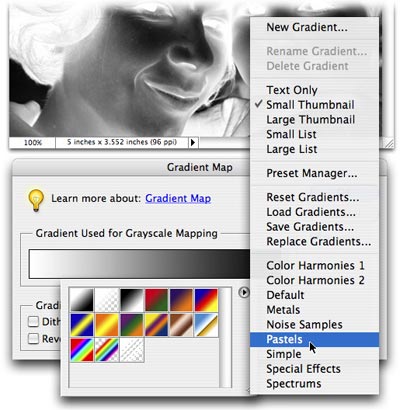
Step 4: From the resulting pop-up list, choose Pastels.
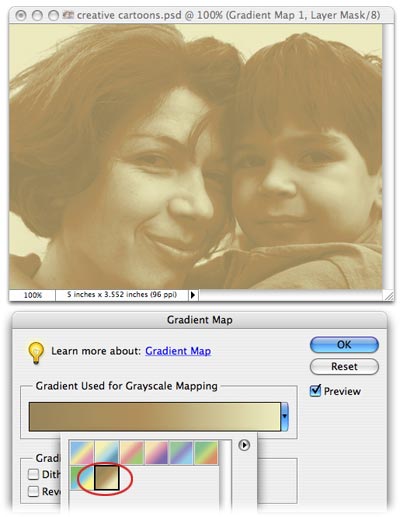
Step 5: Click once on the brown/cream gradient, as shown below. TIP: For a different color sceme, try experimenting with other gradient color combinations.
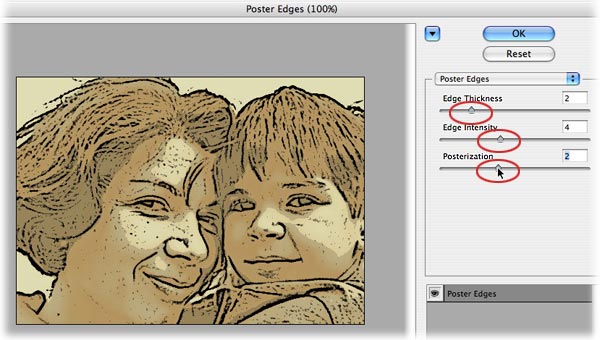
Step 6: From the Filter menu, choose Artistic > Poster Edges. This is going to give us nice, thick black outlines.
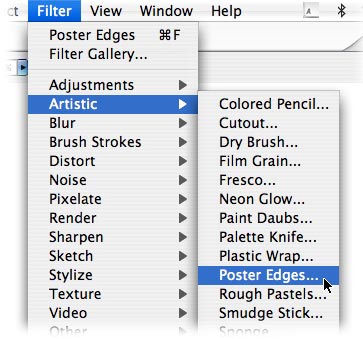
Step 7: In the resulting dialog box, adjust the sliders to your liking. In this example, I have Edge Thickness at 2, Edge Intensity at 4, and Posterization at 2. These settings will vary per image.
To complete the cartoon effect, let's add a thick black border. But first, we need to add a little more canvas space.
Step 8: Press C to select the Crop tool and draw a box around the image. While holding the Shift and Option (PC: Alt) keys, drag one of the corner handles outward till you have about 1/4 inch of space around the image. Press Return to accept the Crop.
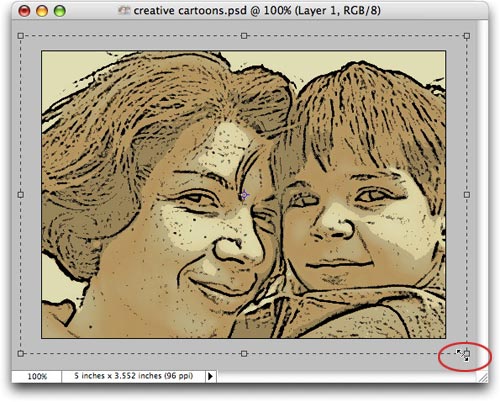
You should now see transparent squares behind the image.
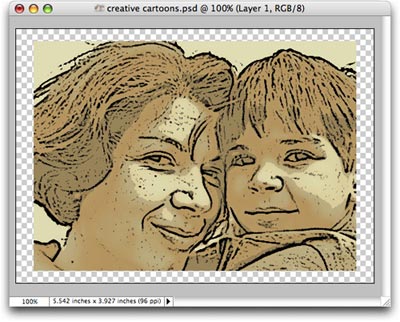
Step 9: Choose Edit > Stroke (Outline) Selection.
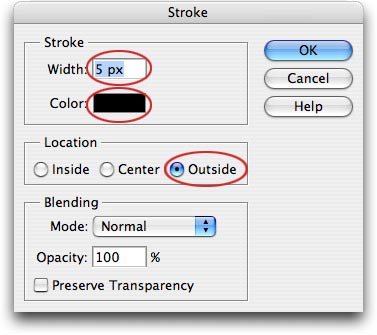
Step 10: Enter a thickness of 5 (this may vary depending upon the resolution of the image you're working with), choose black from the color well (circled below in red), and choose a position of Outside to give us slightly rounded edges (choose Inside for a hard straight edge). Press OK.
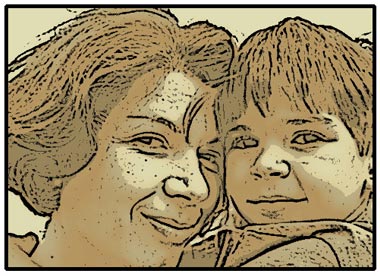
And behold this completed cartoon:
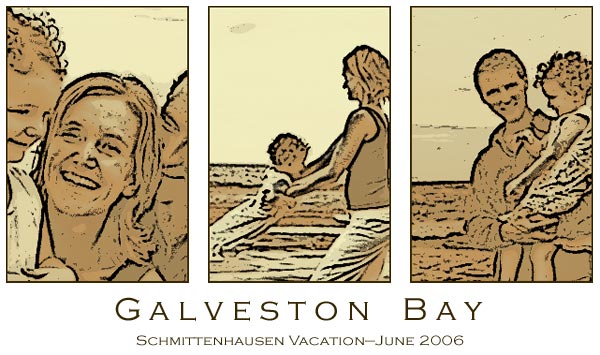
This would be a really nice effect to apply to a series of 3 images along with a caption, as shown below:
See you next week!


PhotoLesa's photography gear provided by: