
PhotoLesa's photography gear provided by:


Welcome to the fourth installment of our journey through the blending modes founds in both Photoshop and Elements. Though we're still trudging through the second category of modes which all darken the overall image, I think you'll find Linear Burn to be one of the most useful. That is, if you're interested in creating some really trendy, funkified collages. Linear Burn produces an effect that looks a lot like Multiply, though darker, and more saturated (brighter). It's also similar to Color Burn, though the end effect won't be as high contrast.
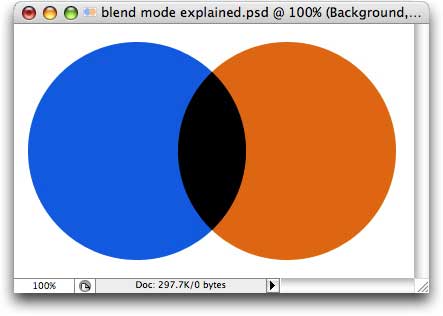
Beginning with the orange and blue circles we started out with, here's what Linear Burn does when applied to the orange circle which lives at the top of our layers stack:
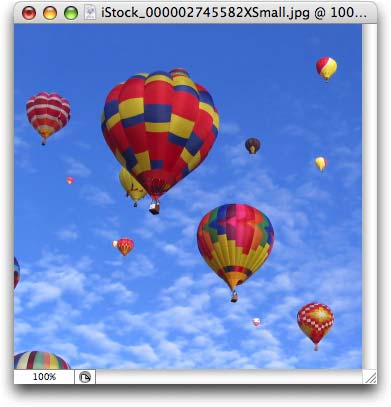
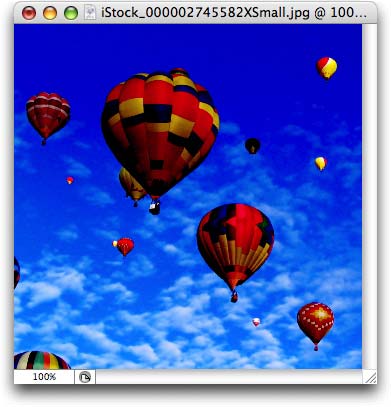
To show you how this particular blending mode differs from the others in the same category, let's take this photo of a hot air balloon, duplicate the background layer (Mac: Command + J, PC: Ctrl + J) and change the blending mode. Here's the original:
Darken mode doesn't do anything at all, because there's no color or brightness variation between the two layers. However, as you can see below, each mode farther down the blending mode list gets successively darker and more saturated with color.
Think of this one as double-inked, wherein the whole image was printed twice and thus the whole thing became darker.
Produces a high contrast, darkened yet colorful effect.
Here we get a dark yet slightly brightened effect, but without the added contrast you'd get with Color Burn.
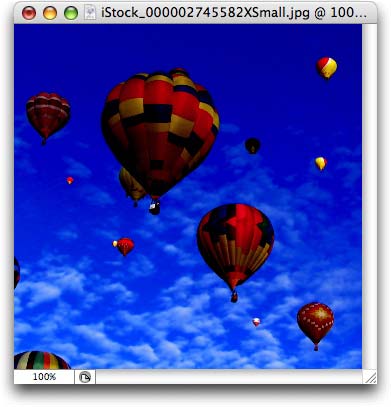
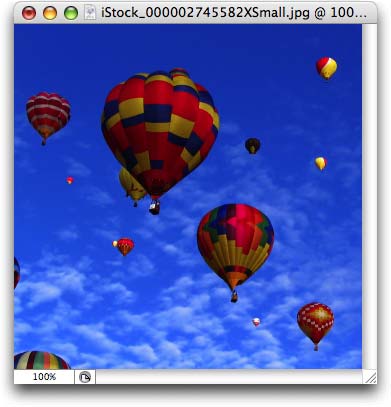
With the colors in this particular image, Linear Burn produced the darkest image overall.
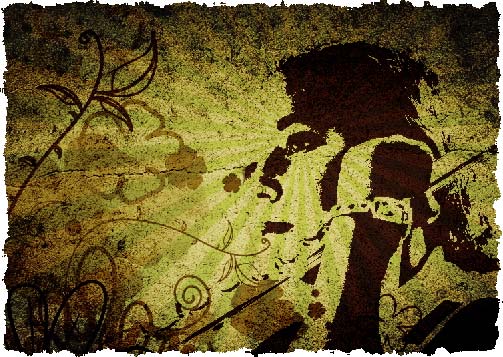
As promised, let's take a look at practical usage of Linear Burn, that of a creative collage. You might be surprised to learn that the collage below was created with nary a selection! Instead, it was created with blending mode goodness.
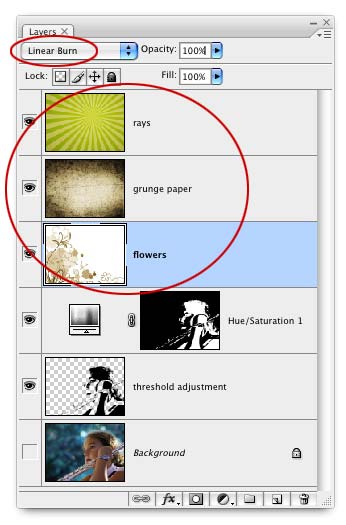
In the Layers palette below, you can see the original image on the bottom followed by what's left of the little girl once I applied a Threshold adjustment to her, and deleted all the white bits (see part 1 of node#180 tutorial for this technique). I also selected her layer and added a Hue/Saturation adjustment layer to make her face appear dark brown instead of pure black.
Next, I popped over to iStockphoto and did a search for "flowers" in the illustration database and got the brownish, ornamental flowers you see on the third layer from the top (circled below). A quick search of the photo database for "grunge texture" produced the green rays and dirty brown paper (also circled below).
I opened all three images and dragged each layer into the main document. I changed the blending mode of each one to Linear Burn and that is it. Period. Nothing else was done to create this collage as you see it above.
Now aren't you glad you read this tutorial? The next time you want to create a really funky, texture-riddled, trendy collage, reach for Linear Burn!


PhotoLesa's photography gear provided by: